Our Gord The Great Lakes Walkthrough Guide will help you to make your way through the fourth level of the game with ease.
If you enjoy this guide, check out some of our other great guides. We've taught people how to make their own automated factory in Techtonica, as well as how to make the most out of gardening in recent cozy MMO Palia.
The Great Lakes is the first level where Gord starts coming into its own, meaning it starts to get really, really brutal, even on lower difficulties. We’ve listed the steps you’ll need to follow below, as well as any insider info that will help you get along.
Gentlepeople, Start Your Gords
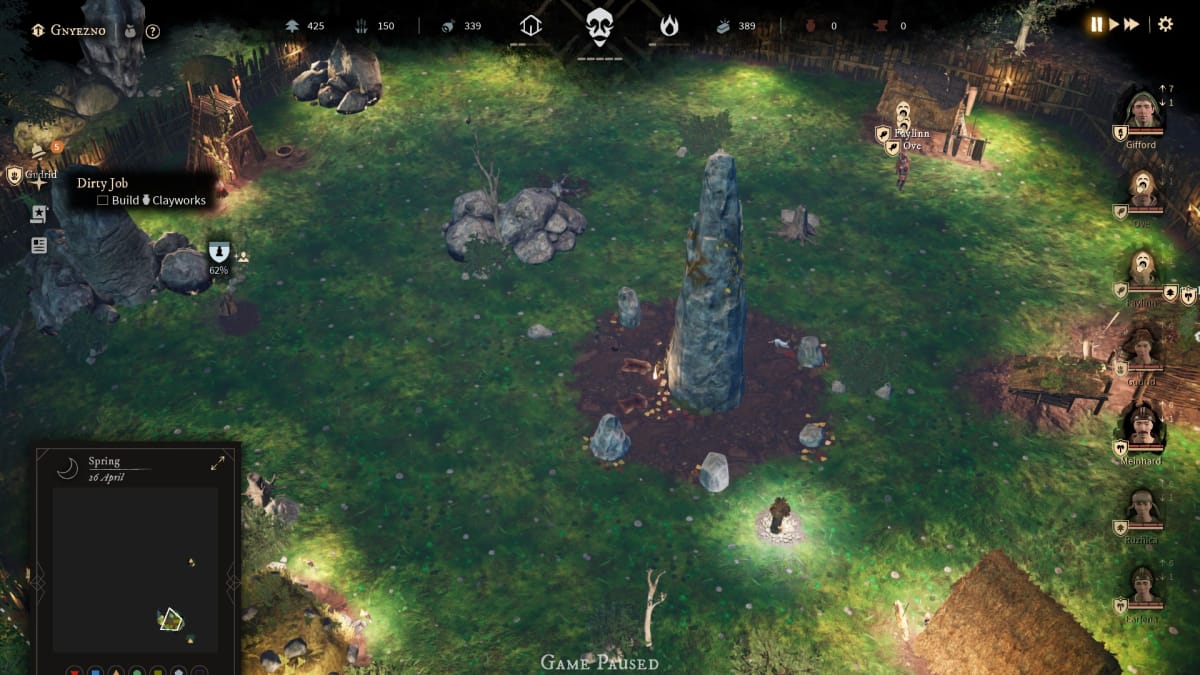
Unlike previous scenarios, you’ll be starting off with a partial gord already. So, the first thing you’ll want to do is assign people to cover all of the basic jobs in your gord.
For the fishing hut, you’ll need to send someone out the front door a little to uncover the nearby fishing pond, or you won’t get any food coming in.
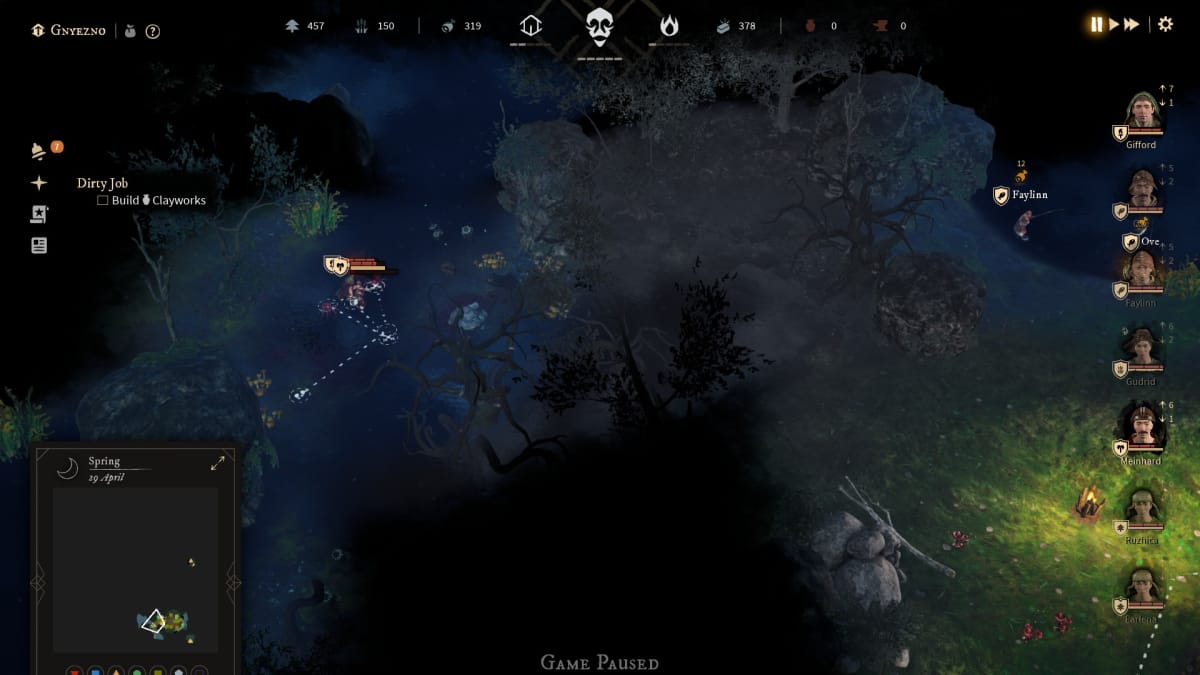
While you’re out there, check out the area just to the southwest of the fishing pond to find a cache of items being guarded by spiderlings. Just make sure you take a scout and a warrior with you.
With that done, you’ll need to build three things; a Balia, a Meadery, and a Clay Works. Just make sure you don’t spend any of your clay. You'll need it later.
Getting Clay
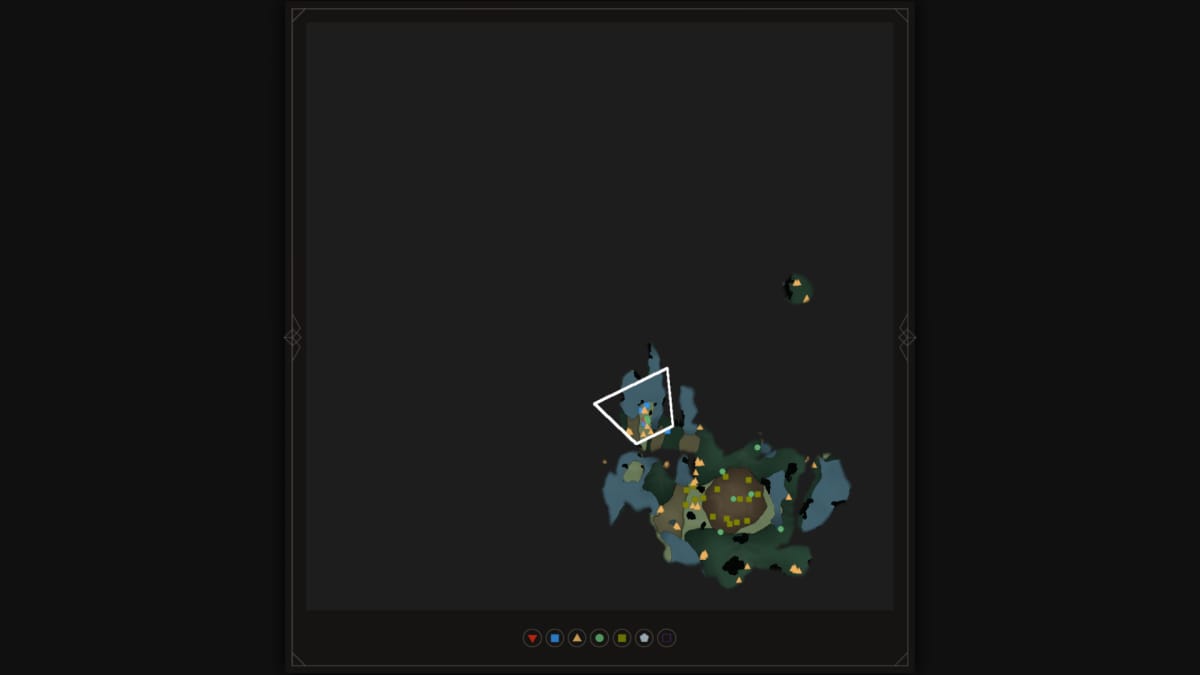
Now you’ve got your Clayworks, you’re going to need to harvest 100 clay. The best nodes to aim for are the ones to the southeast of your gord so send your scout/warrior combo to clear the path for your worker.
Once the various boars and wolves on the way are dead, send your workers in, and in the meantime, you’re going to want to start heading towards the centre of the map with your explorer team.
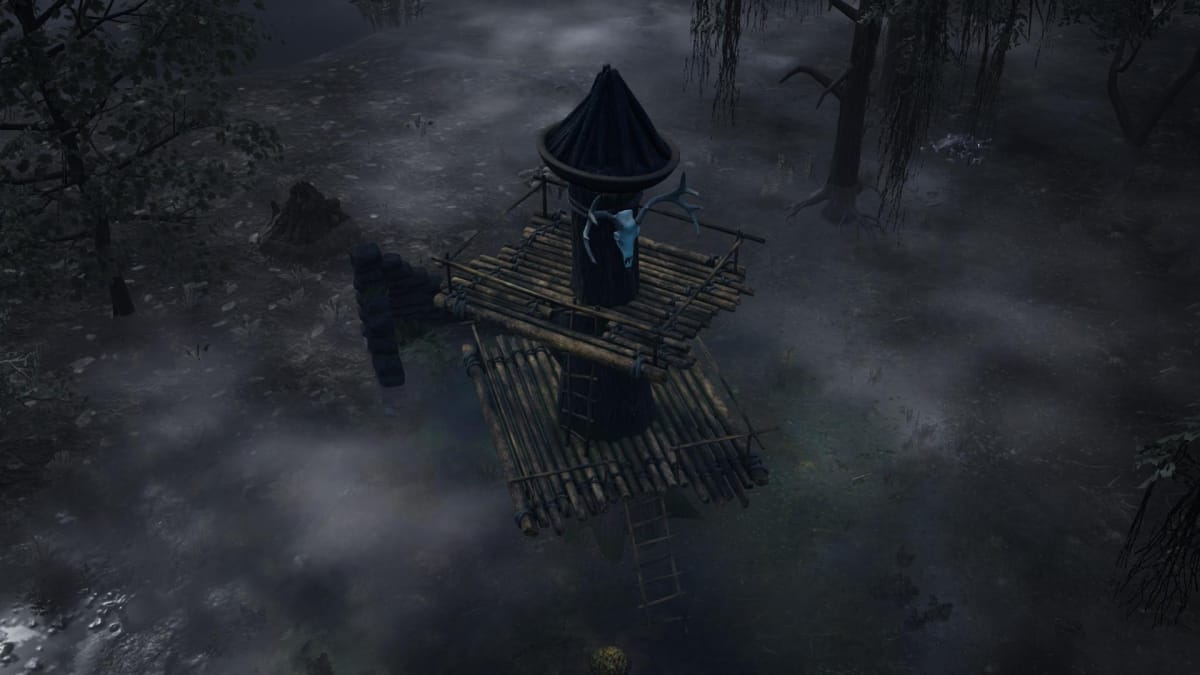
Head north first, then start heading west, or you’ll end up on an island full of poloz. You should aim to come across the Wildfolk located at the camera marker on our map above, but watch out for wolves and poloz on the way.
Take out the enemies and then use the tower to reveal a big chunk of the map, including your next goal after the clay.
Isn’t it Iron-ic?
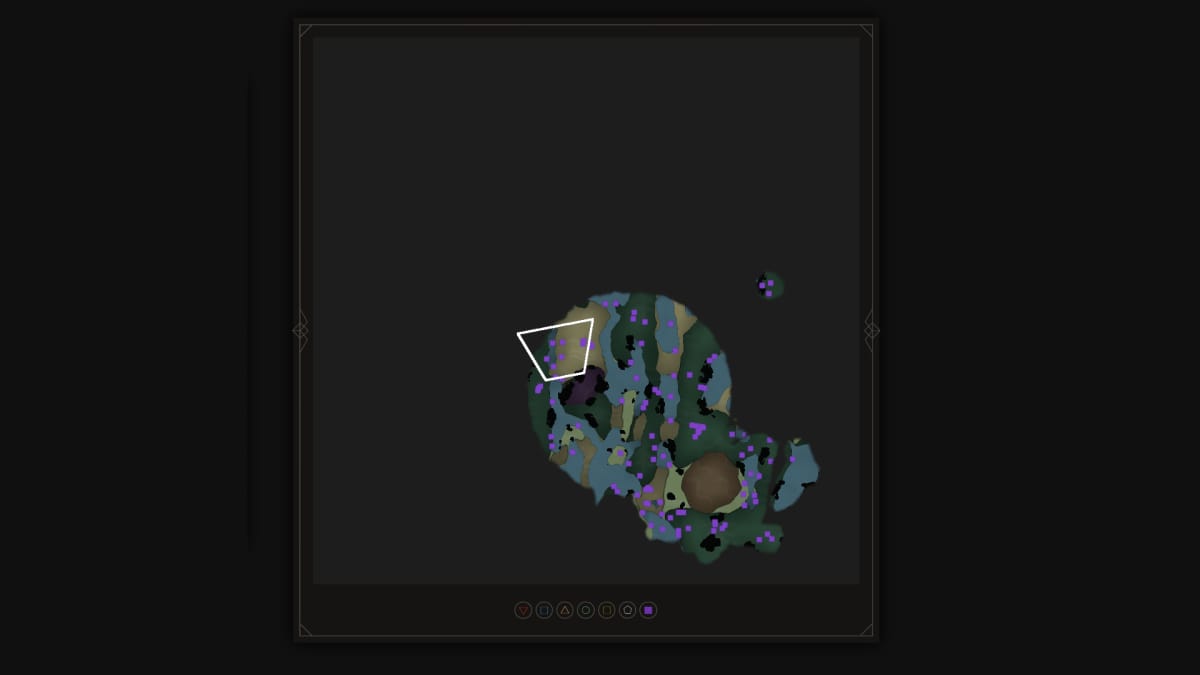
Once you’ve got 100 clay, you’ll next be tasked with finding iron. If you’ve followed our advice above, then you already know it’s at the center of the map.
That said, it’s also guarded by a shocking amount of nasty stuff. You may wish to load up on more axemen if you’re still only using one, which probably means building an axe pit.
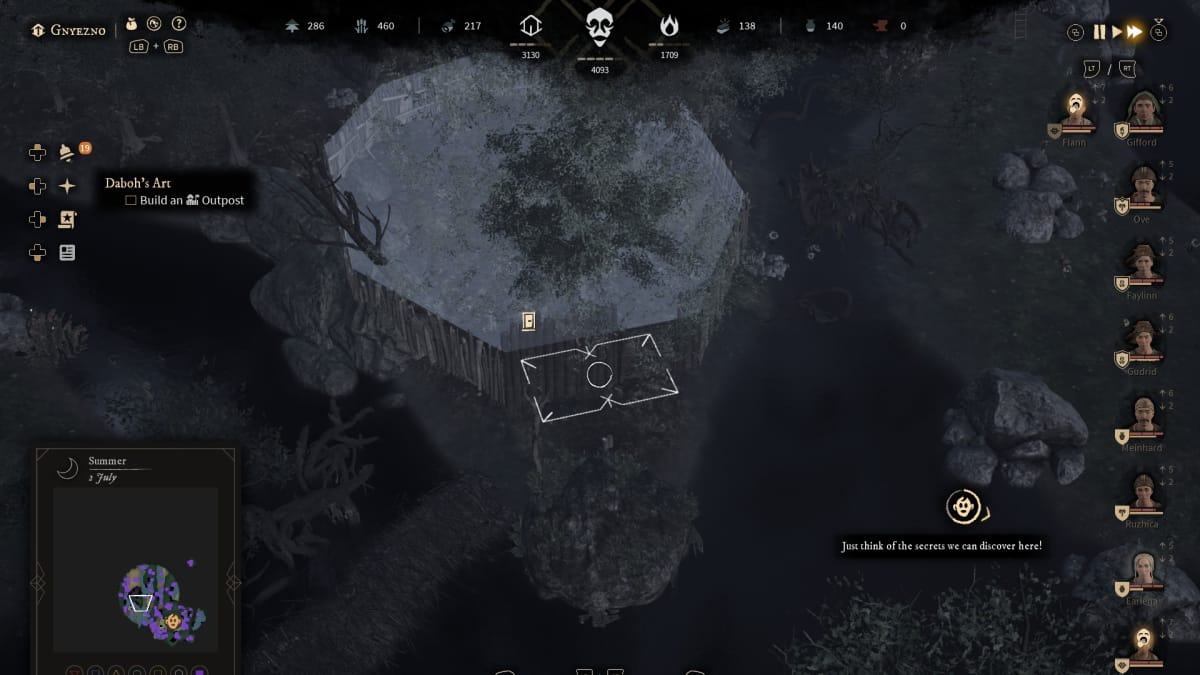
Use the map marker above to find the ore deposit, but bewear. To the south you’ll encounter a group of spiders, to the slight west you’ll find two crocs, and there’s a swamp monster to the east.
At least take out the crocodiles and the spiders, but then you’ll need to construct your outpost on the circle of land just to the south of the iron, close to where you fought the spiders.
Hard as Iron
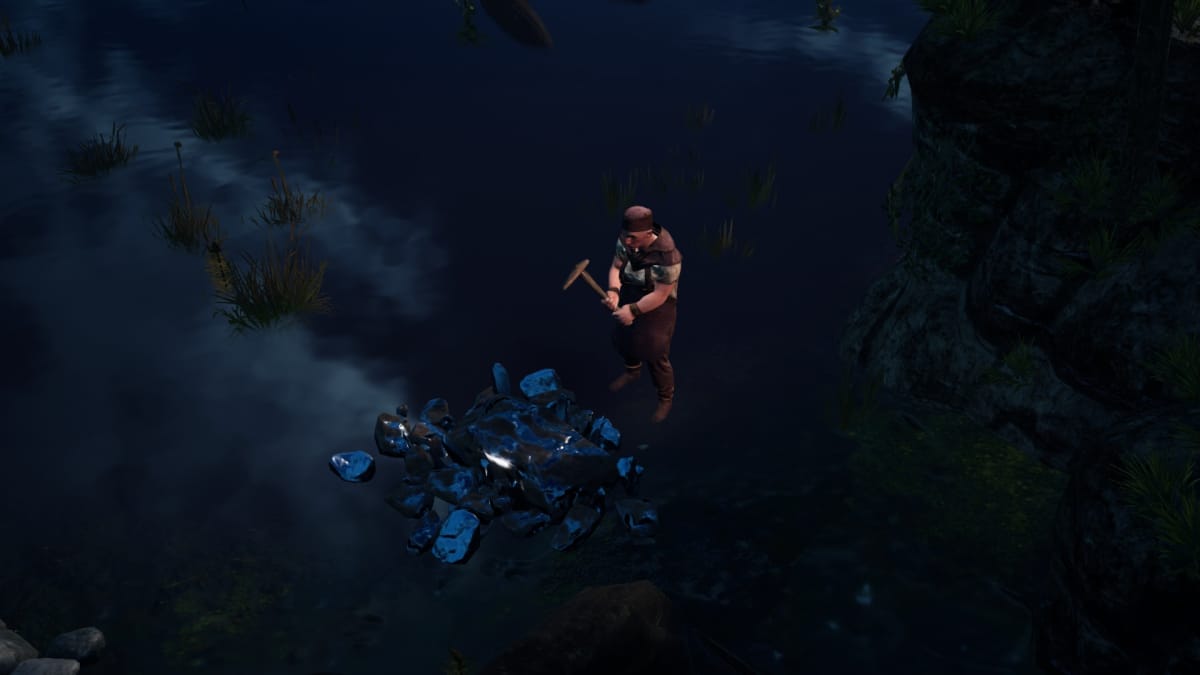
Now you’ve got an outpost near the iron, have someone build the ironworks and begin harvesting. Again, you should avoid spending any of it yet, as you’ll need it for the next mission.
Once you’ve got 50 iron, your next task is to construct a trading post, but you should hold off for a while. If you're gold is already looking a little slim, send out some search parties to gather more. Being low on gold is going to be a problem soon, and as soon as you build a trading post, the time limits start.
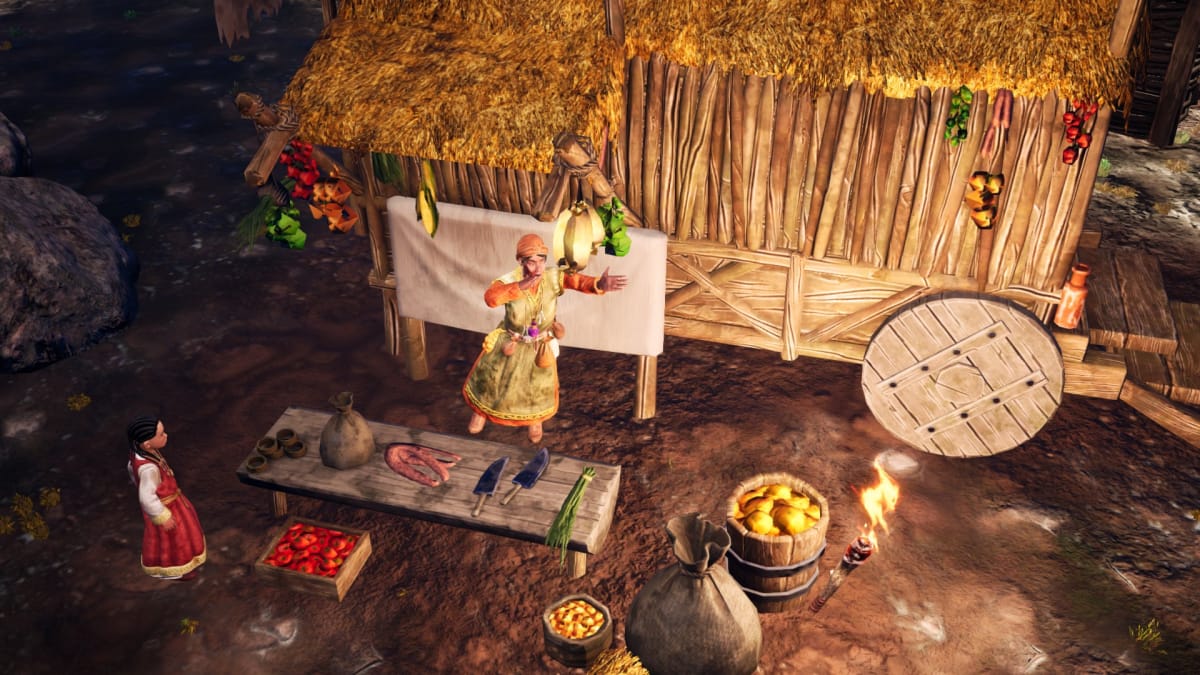
With a trading post in place, now you need to get ready for your final confrontation in the level. Upgrade your axe post to level 3 using your clay and iron, and then craft and upgrade an archery range to the same level.
Watch out while you’re upgrading, while the timer is counting down, you will be attacked periodically and required to defend yourself, so make sure you always have warriors available.
The Final Fight
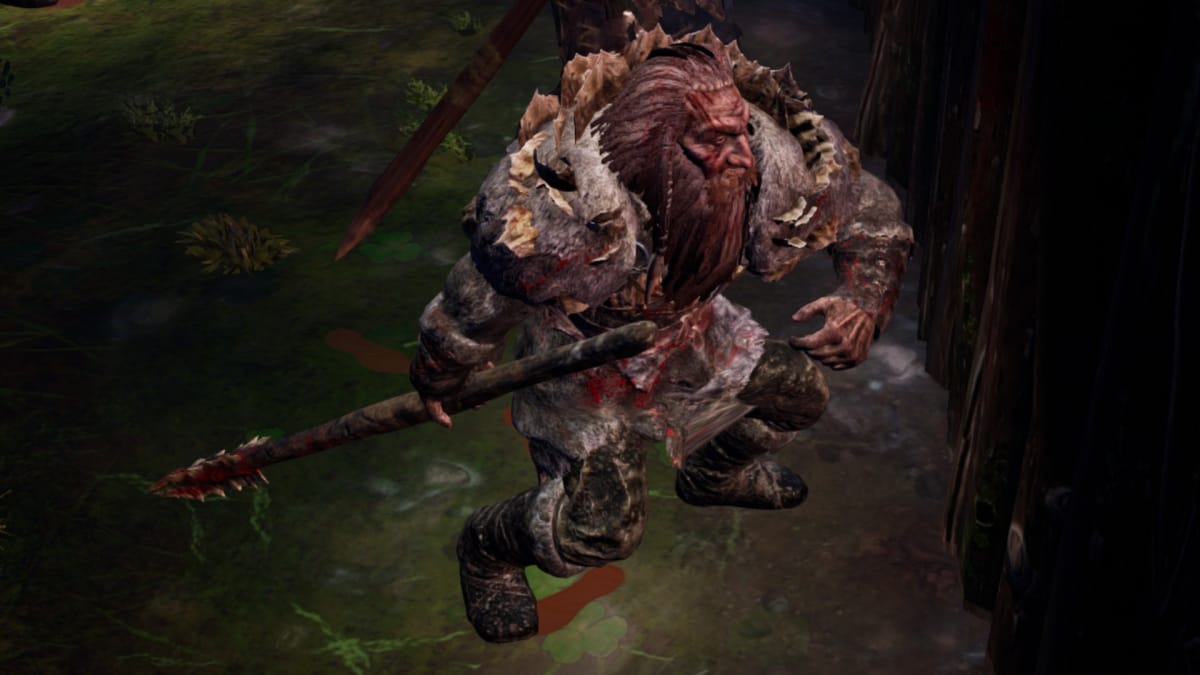
Now you’re all prepped, you’ll need to get enough gold together to train 2 axe weilders and 2 archers, but you'll probably want to get pretty much everyone in your gord to train as warriors.
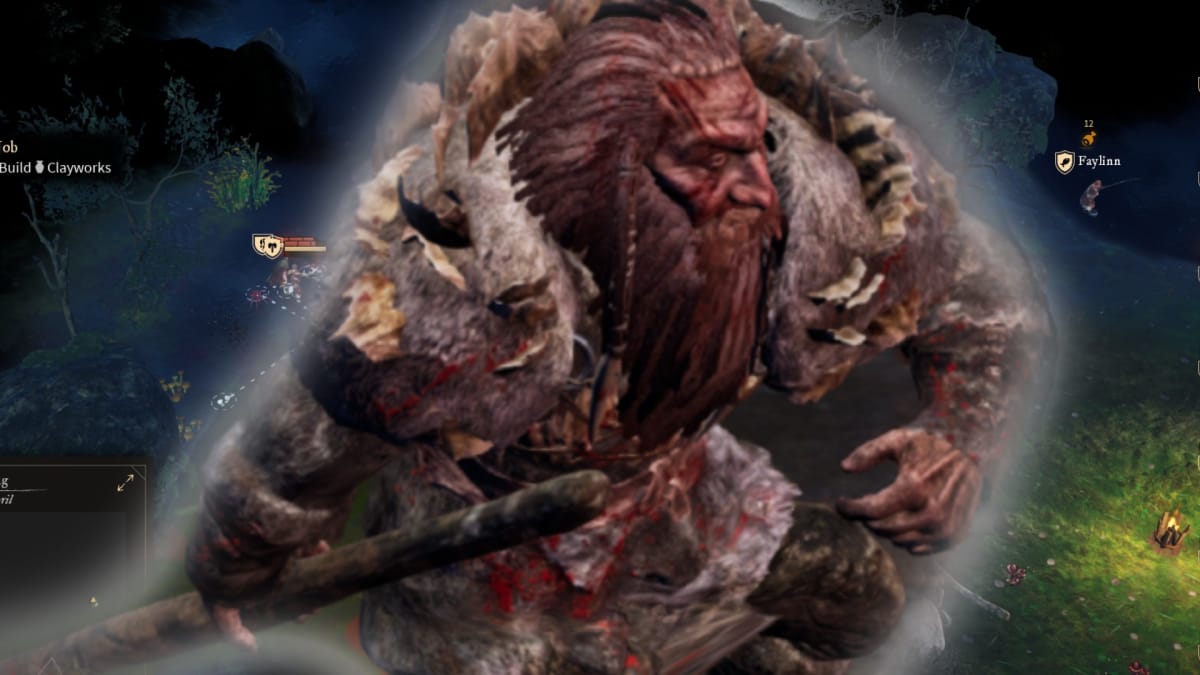
Once you’e done this final step, you’ll find that the angry leader of the wildfolk has shown up, and now you need to take him out yourself.
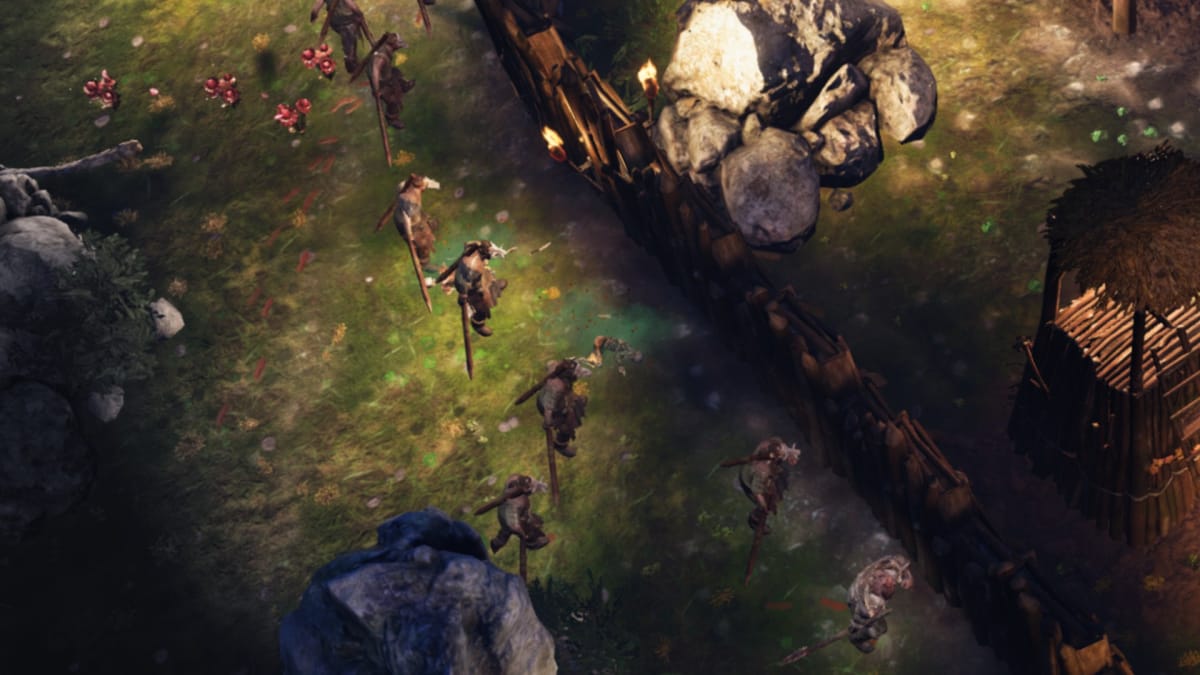
You can just let him come to you, but be prepared since he's bringing a lot of friends with him to the party. Make sure you use a decent mix of melee and ranged to draw aggro and pick at him from a distance, and as long as you use the basic buffs occasionally he shouldn't give you too much trouble.
That's it for this Gord guide, but we have various other articles on the game below:
Have a tip, or want to point out something we missed? Leave a Comment or e-mail us at tips@techraptor.net
